Having a dedicated graphics card in your PC can be a huge convenience, and as of today, every flagship model comes with one dedicated GPU. However, a popular question is raised that How to Enable Motherboard HDMI?. Today’s dedicated graphics cards are nothing like before as they have become much more powerful and the number one example of this is the Radeon Vega graphics, which come with AMD’s new Ryzen chips. This dedicated graphics card is so powerful that it allows you to play AAA title games on medium to high settings at 1080p resolution with a smooth gameplay experience. They also give tough competition to other GPUs from the previous gen.
If your PC has a dedicated graphics card and you want to use it instead of your external graphics card, it is quite an easy process as you have to enable a few options, and you are set. Modern motherboards are equipped with the newer HDMI ports as they provide higher resolution and more accurate colors on the screen. In this guide, you can find out all about how to use HDMI on motherboard properly and the things required for it. So, let’s get to it.
Check For Integrated GPU
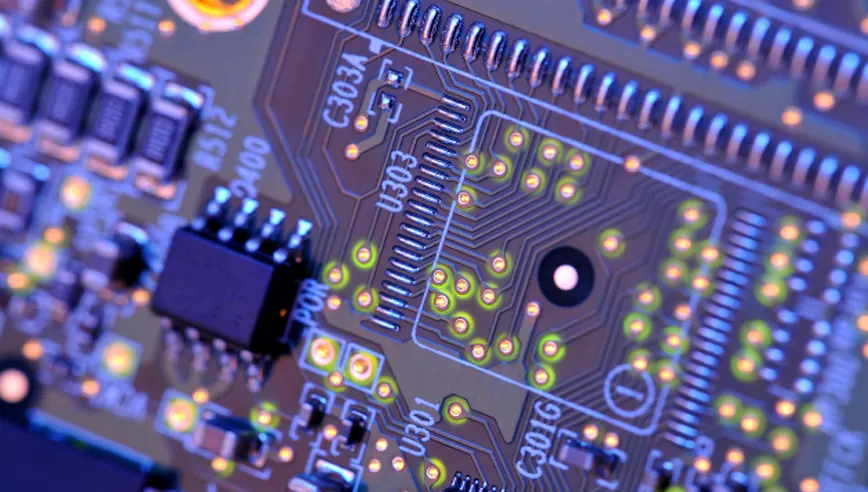
Before we begin the process of correctly using the HDMI port, we first need to check out if your PC even has a dedicated graphics card. As mentioned previously, most modern GPUs are equipped with a dedicated graphics card, but some don’t, so we have to make sure that you have the right CPU for this process.
The quickest and simplest way of telling if your PC has a dedicated GPU is by looking at the motherboard itself. Although it’s not accurate most of the time, it can give you an idea. If your motherboard has any display output, then the chances are that the motherboard does support CPUs that have integrated graphics cards.
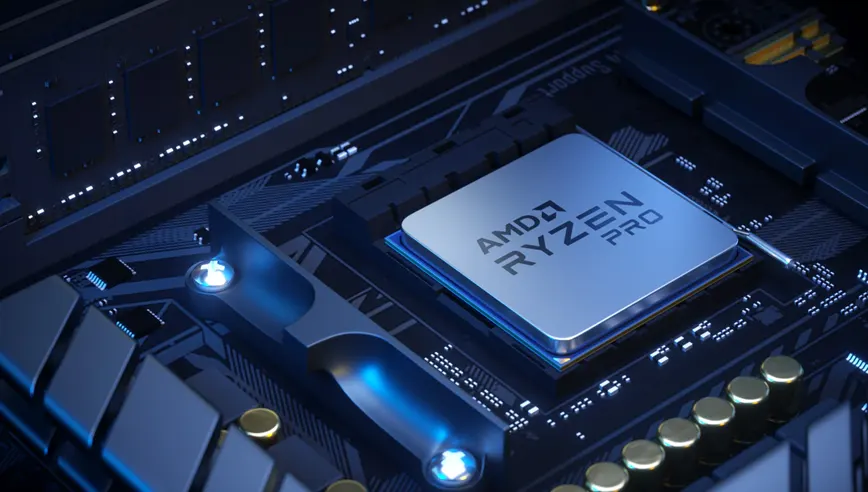
All that’s left to do is to look for your CPU specifications on the manufacturer’s website to find out if your CPU has an integrated graphics card. You can do this by simply opening the system information on your Windows 10 and, from there, copying the name of your CPU and searching for it on the web. Once you do that, you can go to the manufacturer’s website, and there you can find the name “Integrated graphics card supported” or a name similar to it. If it says yes, you are in luck, and if not, you have to continue using an external graphic card.
Enabling the IGPU
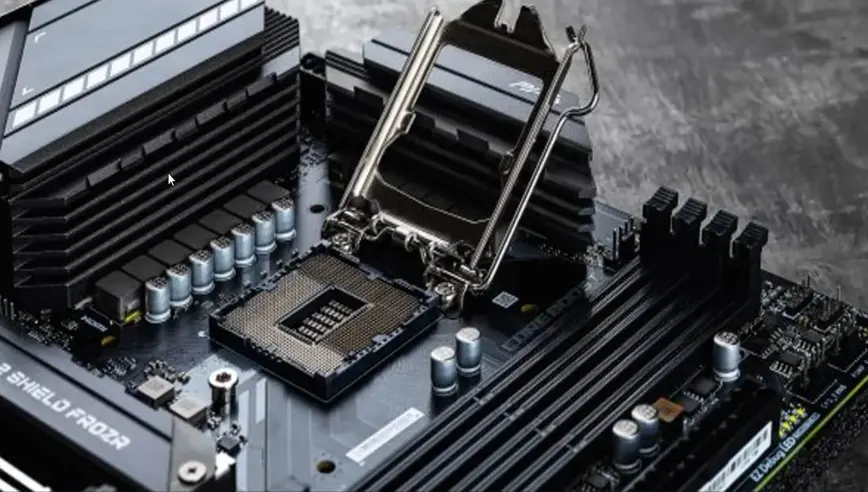
Now that we are sure that you have an internal graphics card on your PC, we can move on to the next step of enabling it. Again, this is relatively easy if you follow the steps correctly. If your PC is already running, shut it down and power it on. Once you see the manufacturer’s logo, start pressing the F10 key or F8. Keep in mind that the key can be different depending on your motherboard manufacturer, but as most motherboards use this key, you can start with these two. If your PC doesn’t go into the BIOS, you have to look for the key entering you into the motherboard BIOS.
Once you have entered the BIOS of your motherboard, start by looking for the option to enable the Integrated Graphics Card. Different manufacturers use names similar to this one, so don’t worry if you don’t find one listed by the name IGPU, it could be identical to it, but you have to be careful while you are doing it because if you enable the wrong option, it can lead to failure. Once you have located it, toggle the option to on and go back to the save changes option. Select the option and exit the BIOS, and your PC will boot in a usual way, just like before.
Connecting the HDMI Cable to the Port
Once all that is done, all that is left to do is connect the HDMI cable to both your monitor and PC. If you are using two monitors simultaneously, you first have to click the primary HDMI cable to the first monitor. Once that lights up, you can connect the other HDMI cable to the different monitor and the other HDMI slot. Installing the correct IGPU drivers is a necessary step because if you don’t install the drivers that are not compatible with the integrated graphics card of your PC, it will slow everything down on your PC.
You won’t be able to play videos at a high resolution because of a lack of video memory. Moreover, your whole PC will look like it is slowing down because of every animation. Even when you open or close a window on your PC, you can feel the LAG in it. Furthermore, be sure only to use good quality HDMI cables because the low-quality wires will not be able to detect your monitor, thus disturbing its color profile and other functions. Finally, the image processing will not be sound, and your monitor resolution will be limited to only 1600x900.
Conclusion: How To Use HDMI Port On Motherboard
So, these are some of the important things about the query of How to Enable Motherboard HDMI?. It can be tricky to enable the GPU from the motherboard BIOS, but once you do it, you don’t have to make an effort again because you can easily disable it whenever you need to. If you find the answer you were looking for, consider reading our other guides on topics like this.