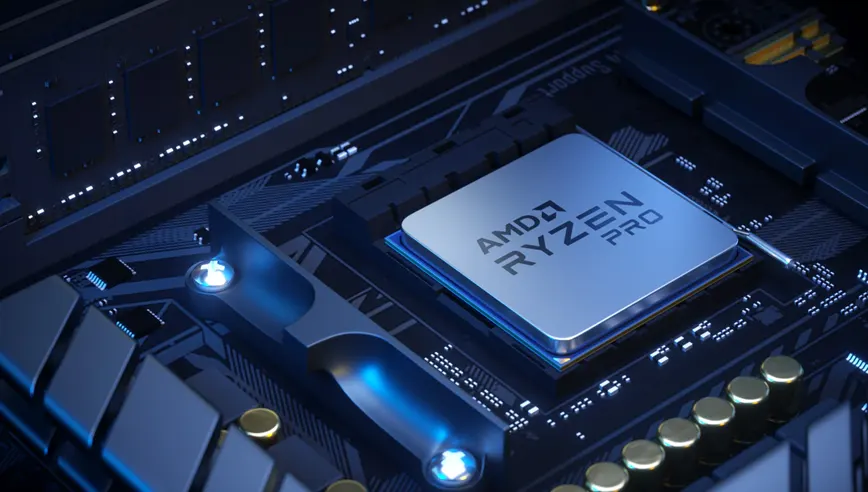
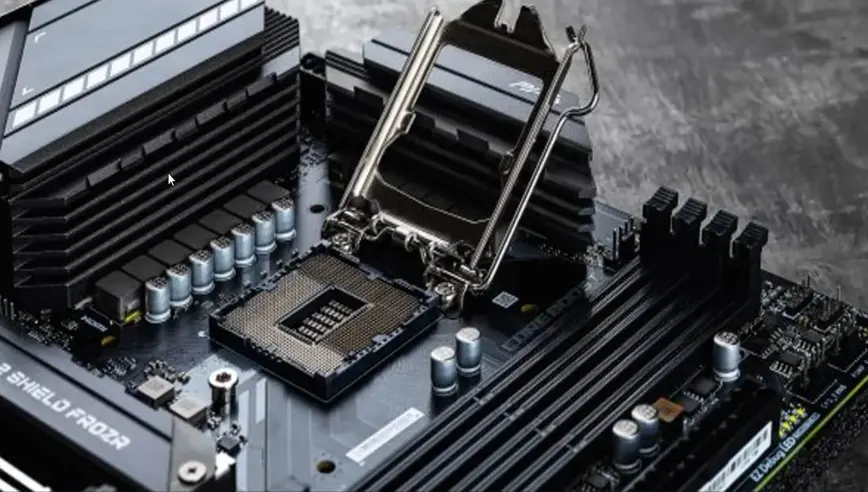
A motherboard is the center of all activity for your computer. It’s what connects everything, from the monitor to the hard drive, and it’s what makes sure that each piece is communicating with every other part. If you’re reinstalling Windows or upgrading hardware, you’ll need to reinstall drivers for your computer’s components including the motherboard. There are a few steps involved in how to reinstall motherboard drivers so read on for more information.
The first step is to determine which motherboard drivers you need. You can find these and other components' drivers on the website of the company that manufactured those parts. If you know your model number, some companies provide a list of all necessary drivers for it on their website’s support page.
Once you’ve identified what you need, download the drivers onto your computer. If you’re using a CD, you’ll need to create a bootable disc before continuing. If you’re downloading the files, make sure that you save them somewhere that you can easily access.
Now it’s time to restart your computer and boot from the CD or USB drive. This will vary depending on your computer’s make and model, so consult your computer’s manual for instructions on how to boot from a CD.
Once the process begins, follow any additional instructions that you may be given. Many drivers will ask you to select which hardware components you need the drivers for. If this is the case, install them one by one until they’re all updated.
Once this is done, you’ll be prompted to restart your computer. Go ahead and do so now.
Note:
Keep in mind that the process of how to update motherboard drivers can take a significant amount of time, especially if there are many components on your system or if you have an older Computer. Your computer may not boot until the process is complete so don’t be alarmed if this happens.
Where can I Find My motherboard drivers:

Since technically, the motherboard is the main piece of hardware inside your PC, it makes sense to focus on finding your motherboard’s drivers first. You can’t do anything with your computer if you don’t have a motherboard! In short, the answer to this question is simple: you need to find drivers for both your gaming motherboard and chipset.
Most of the time, Windows will automatically look for and install these drivers on its own after your motherboard or chipset maker releases them. However, it doesn’t always do this, so it’s smart to check on your own every once in a while.
It’s likely that the process is similar for most brands of motherboards, but there are two standouts, Intel and ASUS.
If you have either of these brands' boards, you’ll need to download their respective apps to install drivers. These apps are called Intel Driver & Support Assistant and ASUS Live Update, respectively.
Once you’ve installed the app for your motherboard, it’s a pretty straightforward process to find and download the latest drivers. Here are the steps:
- Open the app you just installed.
- In the main window, click on the “Drivers” tab.
- Click on the button that corresponds to “Motherboard drivers.” In most cases, this will be an orange button that says “Intel(R) Driver Update” or something similar.
- The website that’s brought up next should have a list of all the latest motherboards and their drivers broken down by OS (Operating System). You can either search by your motherboard’s name or model number, or you can browse the list.
- If you can’t find your motherboard on the list, don’t worry! You can still download drivers manually from your chipset maker’s website. All you need to do is search for your chipset’s name and then download the drivers for “Intel Chipset Device Software” or the chipset maker’s equivalent.
- You might have to repeat this process a few times if you have many pieces of hardware inside your computer, so be sure to check each one. But once you have all the drivers installed correctly, your PC should function properly again.
So that was how you find best motherboard drivers - but what if you don’t have the app installed? Don’t worry, we’ll walk you through that process too.
- Go to your motherboard or chipset maker’s website.
- In the search bar, type in “Intel Driver & Support Assistant” or “ASUS Live Update.”
- Download the app.
- Open the app and follow the instructions on the website to install it. When you’re finished with that process, your motherboard now has its own assistant for finding drivers! Note: If there’s still no button or option for installing drivers, you can go to System Settings, then go with Updates & Security > Driver Updates to try and find the drivers from there.