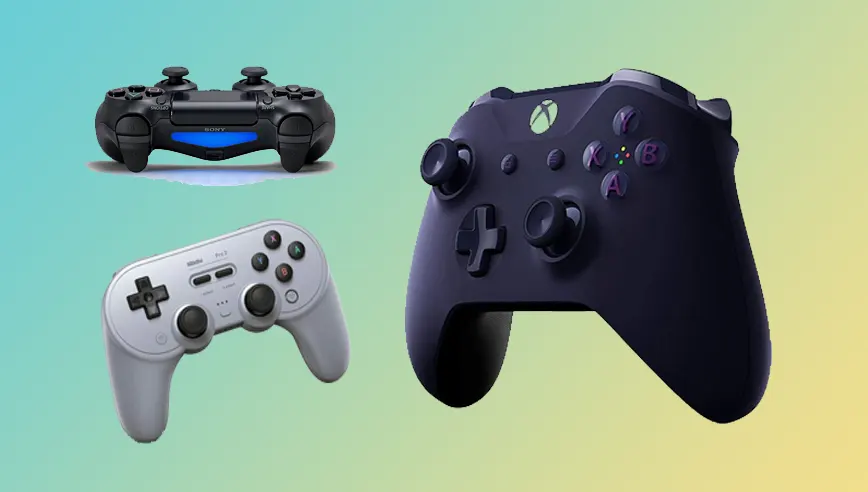
Playing on a console will always require you to hold a controller and focus on the display monitor at the same time. Many users get tired over time of using the same controller and monitor, but obviously, many of them can’t exchange their monitor and controller with the previous one to get a new look and enjoy more. However you can’t make changes to your monitor, but you can make changes to your controller by modifying it. There are already many different controllers out there with different types of colors and skins but they still don’t provide you the satisfaction of customizing them by yourself.
Although there are many ways to customize a controller, you can Apply different skins on it, change its buttons or the body parts and you can also customize it more by painting it with your combination of colors and that is what we are going to discuss in this guide. How To Paint a GameCube Controller. You may think it’s fun to paint your controller in whatever way you like, but I assure you that it’s not fun, since there are many ways you can damage it if you aren’t careful, for instance, if you grab your controller and start painting on it, the paint will get into the controller and damage it, the buttons and the whole Best GameCube controller may stick to your hands, and we want to avoid all of this, so let’s see how we can completely avoid it while painting.
Disassembling the Controller
Ok, so the very first step that you need to go through is to grab your controller and start dismantling it as carefully as possible because you can damage your controller if you are not cautious. To disassemble the controller, you must remove each component and separate them from one another so that you can keep track of everything and get as comfortable as you can.
As soon as you have removed all of the controller’s parts, you should carefully begin cleaning them. A toothbrush that doesn’t bother you to get dirty will help you do this, as will a small, normal-sized brush or a microfiber cloth. As soon as you start to clean, it is best to use alcohol since alcohol is the most effective cleaner. As soon as you have completed all of these steps, you can begin to paint the pieces comfortably.
Select Paint Colors
Looking forward to the next step, this is also one of the most crucial steps since painting any color on the controller if you’re not sure what color to choose, won’t give you peace of mind and your efforts will be in vain. The best way to avoid this is to visualize a picture in your head or to use software that shows you every single color on your controller that you need. In this way, you can be satisfied with the painting results and have a lot of fun while doing it.
Painting the Controller
Ok now finally you can begin painting your controller, It is best to disclose a place where you will not mind getting dirty. Then, start painting in each and every direction that you have dedicated otherwise it won’t look tidy. Also, keep your distance from the controller like 15-20 cm otherwise the paint will be denser on that area.
After spraying, allow it to soak for about 15 - 20 minutes, and then apply a clear coat (Varnishing). This will create a glossy surface and make the surface aesthetically pleasing. It is also possible to use spray paints to color buttons once they are removed. At the end of the process, you can plug the controller back together and start playing.
A Bit of Warning
Unless you are confident in your ability to accomplish all these steps, don’t try because it will only make things worse for you. We recommend getting a skilled worker who has some experience so that the job can be done quite well.